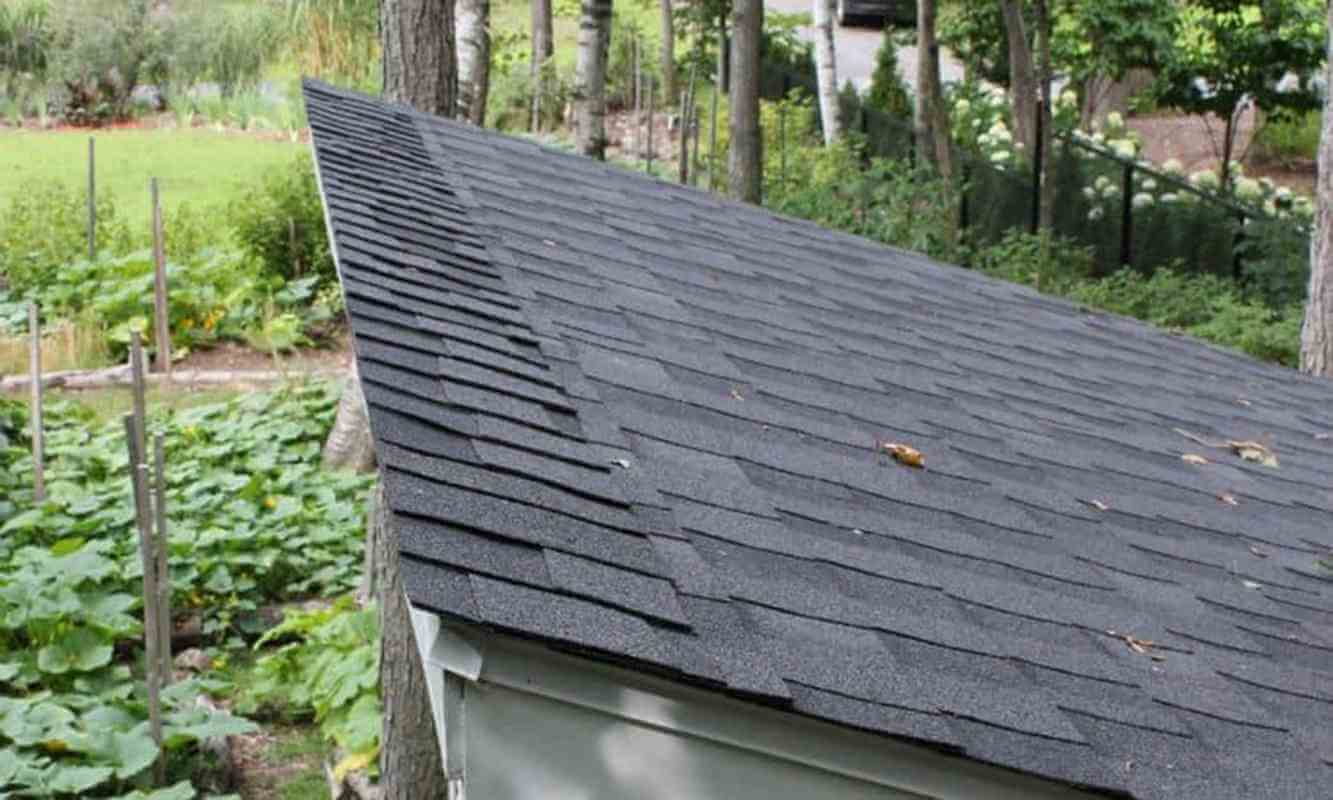
In North America, shingles are popular for sheds, but that's not the case in the UK. As people change, so does the way sheds are used all over the country.
More people are converting these into home offices. People are getting into remote working, and this includes people who want to start a business at home. The reason shingles are so popular is not only because it gives sheds an interesting look but because they're quite effective against rain.
Structure Matters
The first thing you need to worry about is the structure. You can't install shingles if your roof isn't sound. Make sure there's no damage and that everything is perfectly level before you move on to the shingle installation. Be sure to check the construction. You want to pay attention to things like the plywood sheathing for signs of trouble. Look for water damage or things like that before you move on.
Installing the Shingles
The next thing to do is install the shingles. To do this, you want to use a chalk line to mark each plywood sheet. Be sure to snap the line so that you know where each rafter is. Next, you'll be nailing the sheathing to your rafters.
You've got the markers, so this part shouldn't be too hard. Be sure to follow local guidelines as you work because they differ from place to place. Some places ask you to nail the sheathing every 4 inches. Other localities ask you to do so every 5 inches or more. The nails need to be at least 2 inches and galvanized.
Once you've done this part, you're going to move on to the underlay. The underlay is there to keep water out. It's a watertight barrier that you're going to be thankful for.
Sometimes, you'll hear it referred to as felt paper or tar paper. It's important to keep in mind that this layer can only last six months. After that, you have to replace it but only if you leave it out in the open. If you finish installing the shingles, then this underlay will last a long time. Just make sure you're ready for the step if you're going to install the underlay. Don't install this before you take a vacation or something like that.
Keep in mind that you have to install many sheets of underlay. Be patient with this process, and be sure you secure each one using cap nails.
The next thing you have to worry about is choosing the shingle. The cheap builder's shingle could last up to two decades, which is good enough for what you're trying to do now. Sure, there are other options for you; some are a little more expensive, but it's up to you. Shingles that cost a little more are usually thicker, so they have a dramatic look, but it's really up to you. Thicker shingles last longer and offer more protection from the elements, like high winds.
When you install the shingles, make sure you start at the bottom edge of the roof. Place all your shingles in a row down there, and be sure they're upside down. The reason you're doing this is to make sure it's water tight and that you eliminate wind from making its way into your house.
Be sure you don't apply too much tar when you're installing your shingles. You don't want any tar to drip because that's a pain to clean off. Once you're done laying your first row of upside-down shingles, you can start laying the rest.
Nail each shingle using roofing nails. The number of nails you need for each shingle depends on where you are, but most likely, you'll need about four nails. Follow the row pattern as you apply shingles.
Be sure to stagger the placement of each shingle so that they don't line up because that leads to leaks. The staggering pattern is normally about 6 inches, so just move the shingles about that much for each row you start. Once you've completed the entire roof, you can attach the roof ridge shingle.
Hopefully, these instructions are easy enough for you to follow.

