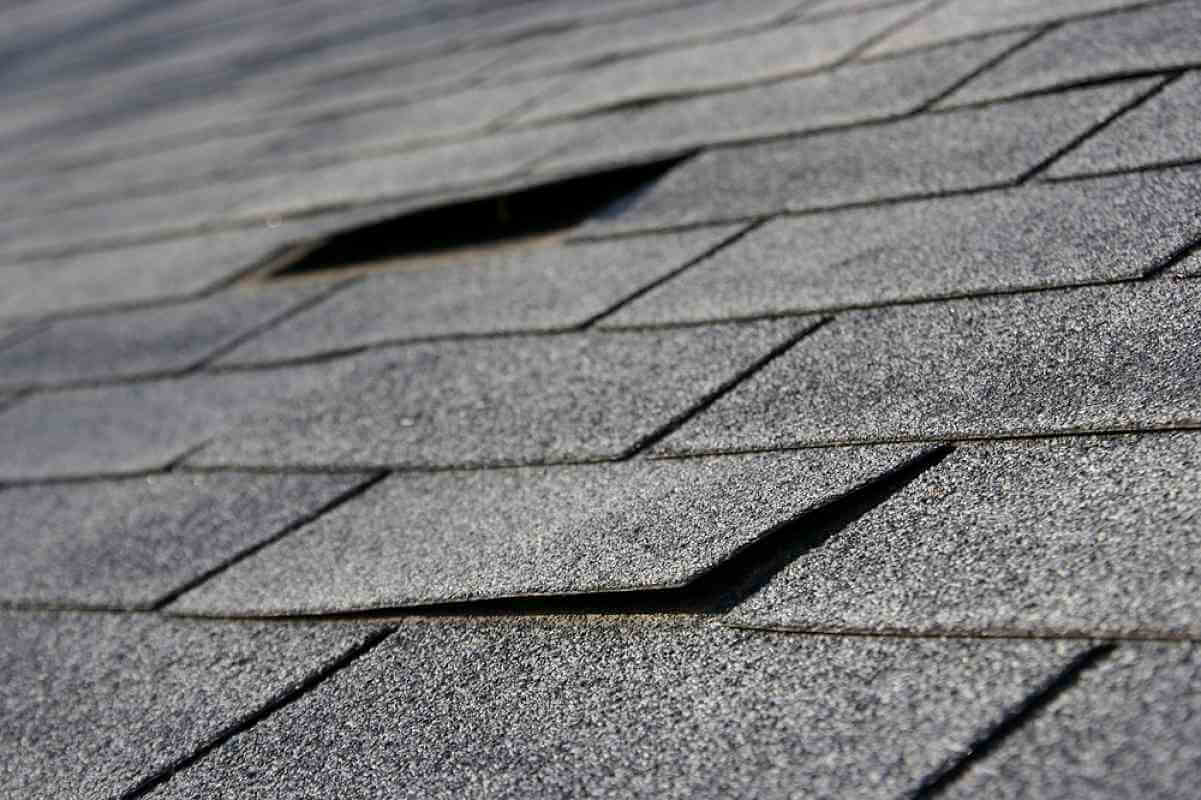
Broken or damaged shingles are an annual problem for homeowners. If you have a shingled roof, it’s highly probable that at some point wind and weather will cause some damage. Often roof materials gets ripped, dislodged, or weathered from storms, wind, or snow. If this has happened to your roof, this step-by-step blueprint will guide you through repairing or replacing a shingle. The tools you’ll need to complete the job are a prybar, utility knife, hammer, and some nails.
The first step is to expose the shingle by using a flat prybar to carefully lift the bottom edges of the overlapping roof material that sits just above the one being repaired/replaced. Each one is held in place by a strip of self-sealing tape. Just slide the prybar along the length of the bottom edge of each to break the tape and get them free, then lever them up a bit to make the broken ones accessible.
Next, remove by raising the tabs, then prying out the nails that hold the back edges in place with either a hammer or prybar that’s equipped with a nail puller. The nails holding one in place may also be holding others, so be prepared for more than one to get loosened in the process.
After sliding out the shingle, be sure to hang onto it for repair or for sizing and color/texture matching when buying a replacement.
To prepare for placement, cut off a small piece from the top corners of the replacement with a utility knife for a better fit. Then, slide it into place, being careful not to damage the roofing felt that sits underneath.
Finally, secure in place by nailing it in with galvanized roofing nails. Be sure to nail it in place by hammering on a prybar on top of the nail heads, instead of striking the hammer directly onto the nail heads themselves. Then cover the nail heads with asphalt roofing cement and spread extra cement underneath the tabs that can be folded back to help hold them in place.
Some helpful hints include “stealing” roof patches from a hidden or less visible part of the roof to replace broken or missing ones on a highly visible part of the roof, if a perfectly matching replacement can’t be found.
It’s also important to always bring a “sample” from your roof when looking for a replacement, so the color and texture can be matched. It’s also a great idea to order extra roofing materials when putting the roof on a house, so you’ll have some spares on hand when you need to find some replacements.
If ridges are the parts of the roof in question and they’re only slightly damaged, you might want to consider leaving them in place, and after nailing each edge down securely, simply place new ridges over top. There’s also the option, with heavily damaged roof ridges or hips, to apply new ones over top of the damaged ones with roofing cement.

